
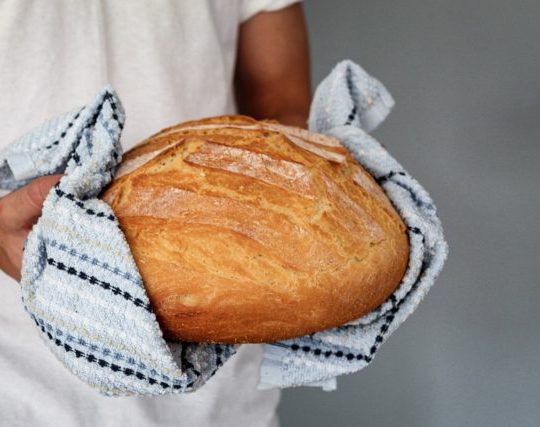
Take a little time to bake my Dutch Oven Bread: Bread for beginners, which is fantastic, simple, and tasty in your kitchen.
I have been making this bread for many, many years, and not every time came out perfect, but it never stopped me from making it all over again. For me, bread is life. I love bread with all my heart, especially this tasty dutch oven bread.

Dutch Oven Bread: Bread for beginners
From time to time, I do remove carbs and gluten from my diet, but I am telling you it is so hard. Just like potatoes, I adore bread so much.
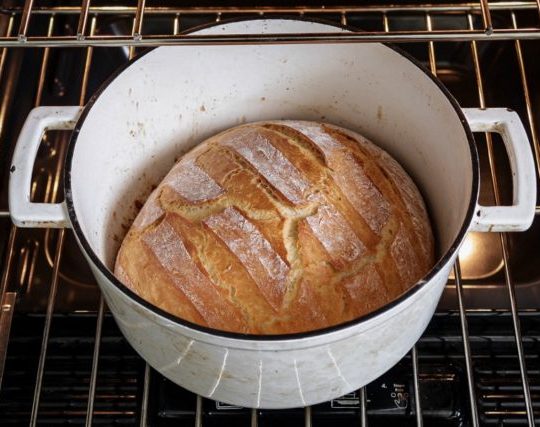
Anyhow, this time, I am sharing straightforward bread, and it comes out so flawlessly that you will not even believe it. Dutch ovens distribute heat all around, and the bread is secured in the middle. It allows the bread to bake evenly and beautifully.
While it’s baking, the heat captured inside also makes the bread produce steam, so the bread comes out amazing. When you use parchment paper, the bread comes out even better.
TAP HERE FOR MORE TASTY BREAD RECIPES
On the other hand, you can most definitely use only a drizzle of good oil and a sprinkle of cornmeal to prevent the bread from sticking. As I said so many times, I make bread daily for a long time, and my family loves it.
If you never made bread, please do consider trying. My NO-KNEAD BREAD is one of the most popular recipes on my blog. You can even bake that bread in a Dutch oven. It is so easy and most definitely delicious.
I have been making bread for over 20 years so I could make it with my eyes closed, so I tried to explain the best I could so you guys could make it at home.
You can watch my videos on YOUTUBE.

I made this Dutch Oven Bread: Bread for beginners in Xtrema Ceramic Cookware (Ceramcor) Dutch Oven. However, I also tested the same in their 2.5 Qt Covered Saucepan and 3.5 Qt Covered Saucepan, and 10″ Covered Short Handled Skillet. Well, I got to tell you it was amazing.
I love Xtrema Cookware and Bakeware, so do check them out. Also, I made it in other Dutch ovens as well. Whatever pan you have that is deeper and with a fitted lid, I know you can use it.
This bread recipe you can make in smaller or larger than 5 qt. The dough will either expand and fill the gap or bake higher.
Dutch Oven that I recommend:
- Lodge 6 Quart Enameled Cast Iron Dutch Oven. Classic Red Enamel Dutch Oven
- Amazon Basics Enameled Cast Iron Covered Round Dutch Oven, 6-Quart
If you make my Dutch Oven Bread for beginners, please tag me on Instagram. @sandraseasycooking using hashtag #sandraseasycooking. Thank you so much for your attention and participation.
I call it the best because it is so easy yet really delicious. Also, you could preheat the enameled Dutch oven before baking. Then place it in the cold oven to heat up gradually for about 10 minutes or so. Never put a cold, empty pot in a hot oven to heat. So heat dutch oven for a bit first then, place the dough in. This method will prevent dutch oven from cracking. You can also heat it on the stove-top. Whichever step you take, it will be fine. If you're concerned, the safest bet is to use a non-enameled and ceramic Dutch oven when baking bread. You may skip the egg. You may use water instead of milk. The outcome of the bread depends on the water temperature, oven, flour, yeast even air. This recipe is tested and retested many times. You may preheat your dutch oven or you can actually make it in the regular baking pan. You do not have to use parchment paper, but I like using it. Don’t stop baking if the bread does not come out perfect the first time… like I said it could be many different things to affect it. If you going to make a larger bread, add 6 cups of flour, 1 tablespoon Salt and enough liquid to make it wet enough. I would say about 2 1/2 cups. Everything else is the same. This data was provided and calculated by Nutritionix. Nutrition information isn’t always accurate, but we try our best.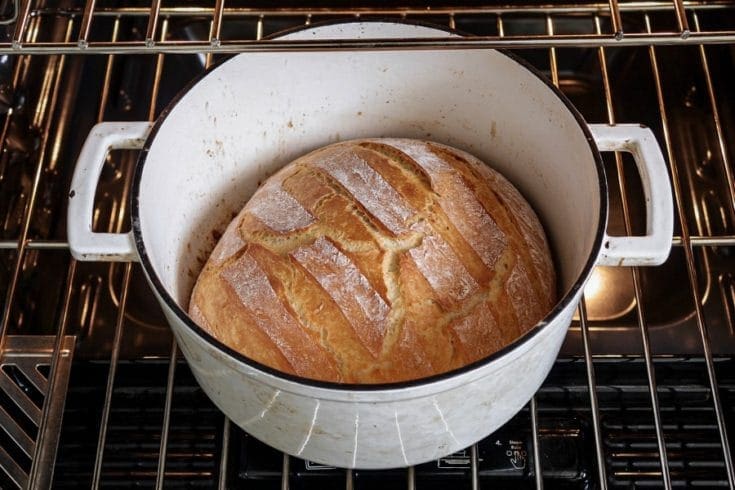
Dutch Oven Bread
Ingredients
Instructions
Notes
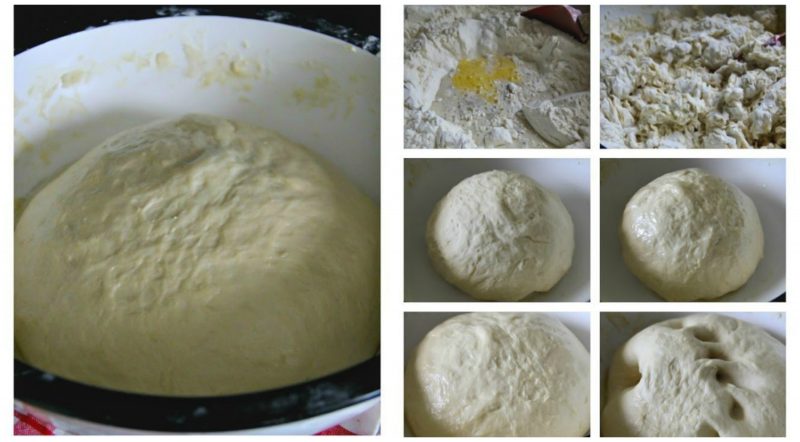
Thinner or softer (with a bit more water) DOUGH IN A WARM KITCHEN WILL PROBABLY RISE IN 45 MINUTES OR LESS.
A FIRMER DOUGH WITH LESS MOISTURE WILL TAKE LONGER TO RISE. YEAST IS VERY SENSITIVE TO TEMPERATURE; EVEN A FEW DEGREES LESS IN THE KITCHEN CAN EXTEND THE RISE TIME SIGNIFICANTLY.
IF YOUR DUTCH OVEN IS TOO BIG AND DOES NOT FIT IN THE MIDDLE OVEN RACK, INSTEAD YOU HAVE TO KEEP IT AT THE BOTTOM OR LOWER RACK, TURN DOWN THE HEAT. IT WILL STILL BAKE, NO WORRIES. THIS WILL AT LEAST PREVENT BURNING. YOU CAN ALSO ADD SOME PARCHMENT PAPER AT THE BOTTOM JUST TO MAKE SURE.Nutrition Information
Yield
8
Serving Size
1
Amount Per Serving
Calories 262Total Fat 3gSaturated Fat 1gTrans Fat 0gUnsaturated Fat 2gCholesterol 25mgSodium 614mgCarbohydrates 49gFiber 2gSugar 1gProtein 8g
Top 19 making bread in a dutch oven the best - Top Best
Saturday 6th of August 2022
[…] Xem chi tiết […]
Top 18 making bread in dutch oven hottest you should know - Top Best
Saturday 6th of August 2022
[…] Xem chi tiết […]
Kenzi Brattin
Wednesday 18th of May 2022
Love it
Kenzi Brattin
Wednesday 18th of May 2022
Love this recipe. Thanks!
Sandra Mihic
Thursday 26th of May 2022
I am so happy to hear! Thank you!
Lydia
Sunday 6th of March 2022
I followed your recipe directions exactly, and my dough was not coming together at all. Then I realized that although you mentioned water in the ingredient list you never say when to add it in the actual recipe itself - only the egg and the milk. Once I corrected my mistake and added the water to the bowl it came together much better.